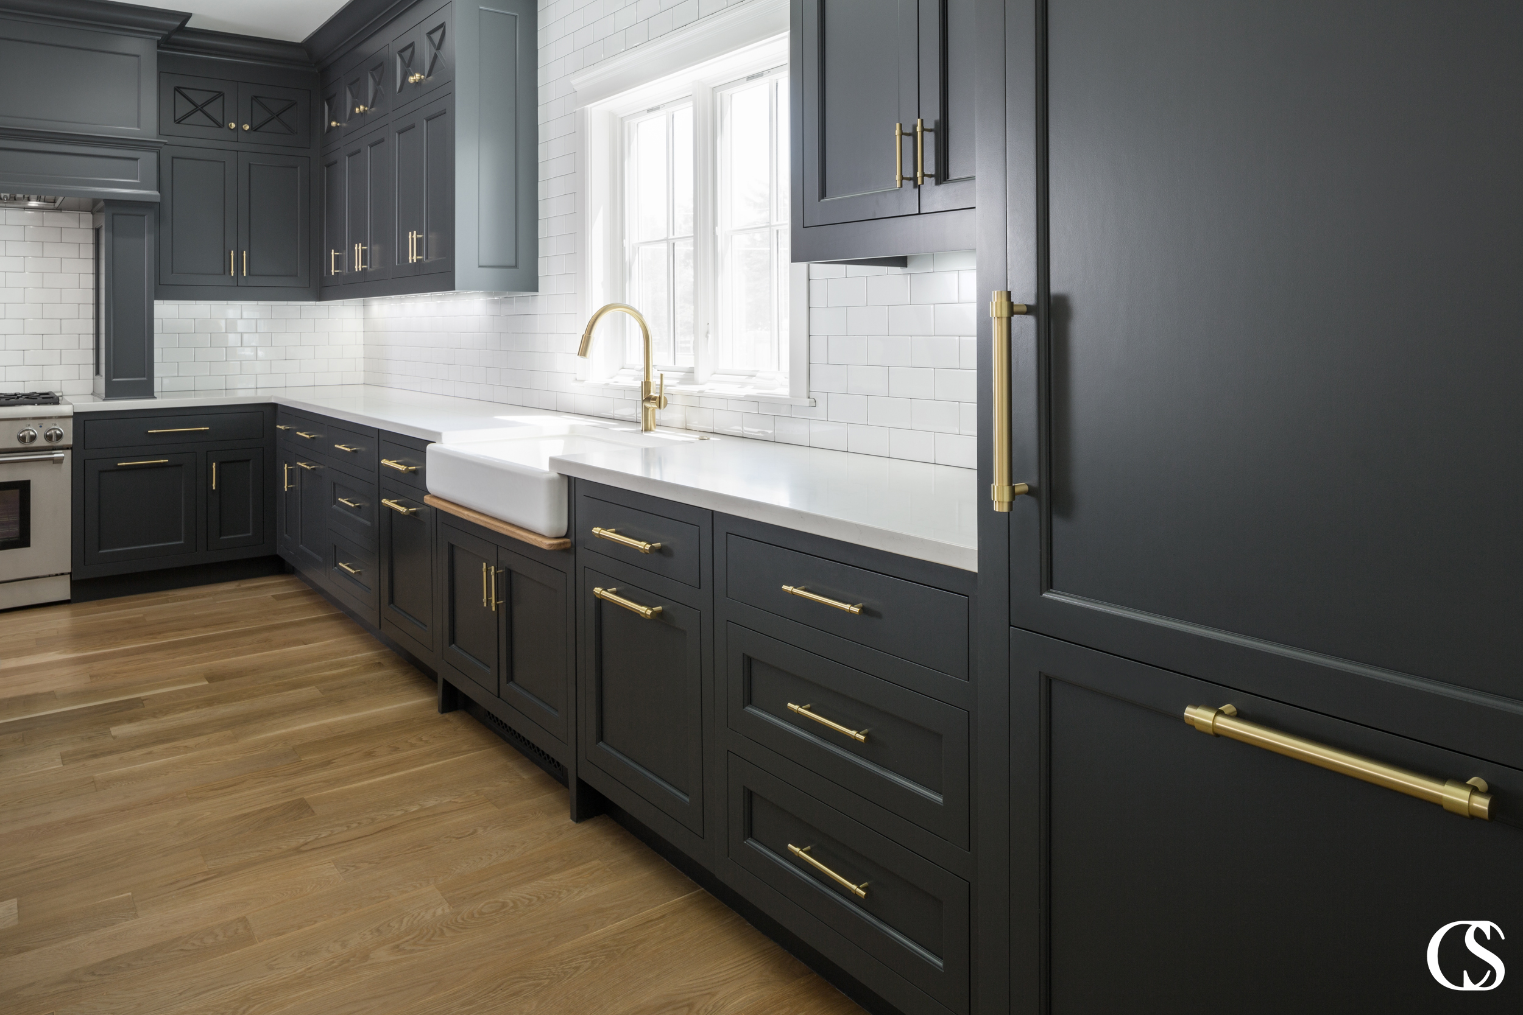
Cabinet handles are more than just functional hardware; they are an integral part of the overall design aesthetic of any space, whether they grace the kitchen, entertainment center, or bathroom. Their style, material, finish, and functionality can enhance your space’s visual appeal and cohesiveness while reflecting your personal taste and style.
If your cabinets could use a refresh but are unsure how to go about it, this guide will walk you through how to tastefully and successfully install cabinet handles.
How To Choose The Right Size Of Cabinet Handles
Although there are no firm rules for choosing the right size cabinet handles for your space, you can follow guidelines to make the decision process easier.
In general, for cabinet knobs, 1-¼” is a good choice. If you are leaning towards a more minimalistic look, size down. If you want to make a statement, size up.
While sizing for knobs is pretty straightforward, choosing the right size for cabinet pulls can be tricky. Consider the following when choosing cabinet pulls for your space:
- Use the ⅓ rule, which states that the best pull length is about ⅓ of the height of the cabinet door and ⅓ the width of the cabinet drawer.
- Choose cabinet pulls with at least a 3-¾ center-to-center distance between screw holes. This size is visually appealing on most cabinets.
- Remember that the longer the pull, the more contemporary the appearance. Contemporary knobs are at least two-thirds the length of the drawer or cabinet.
- Drawers that are longer than 18” often require more than one pull or knob.
- In between sizes? Go ahead and size up.
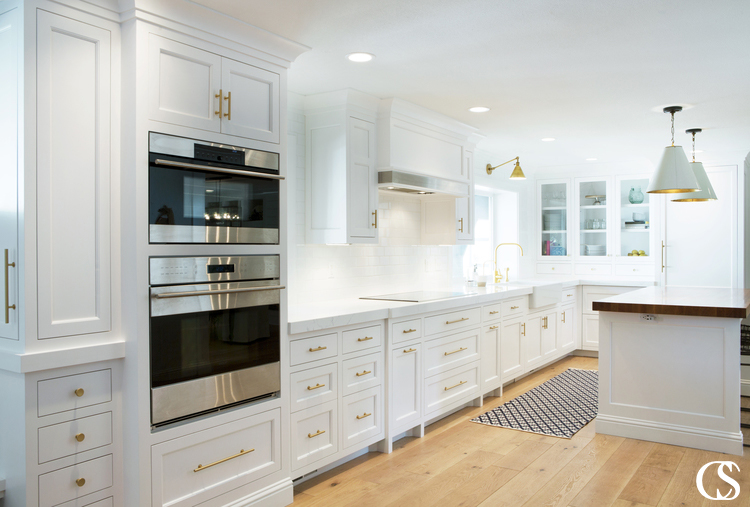
Best Placement For Cabinet Knobs And Pulls
The best placement for cabinet knobs and pulls is the intersection where function and beauty meet. Follow these general guidelines for the best cabinet handle placement:
For Panelled Doors And Drawers
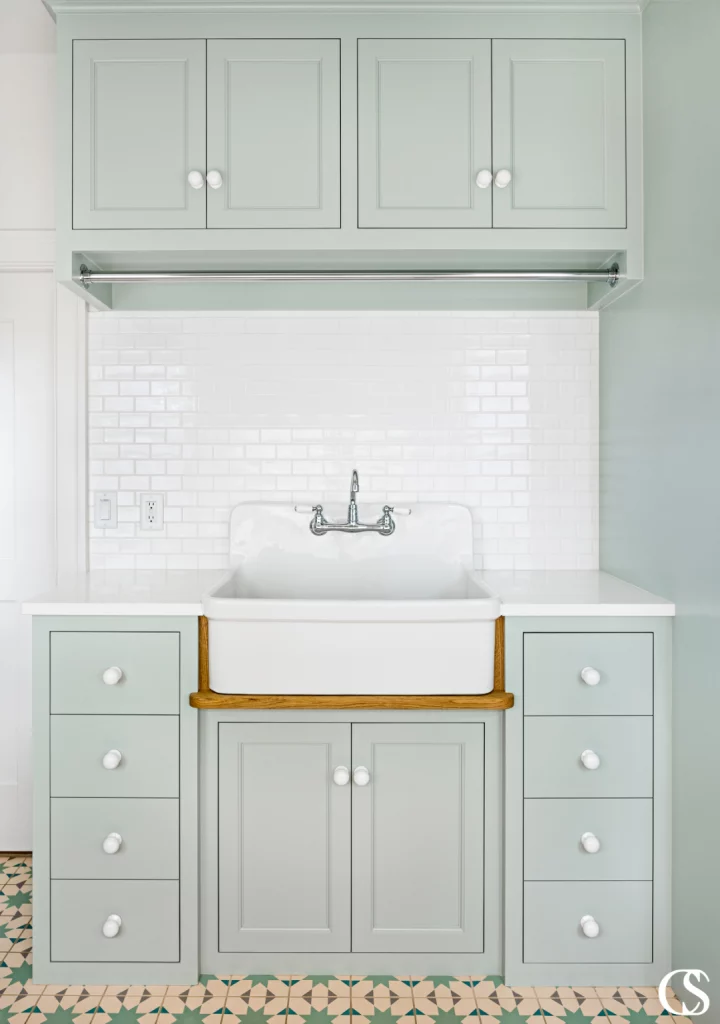
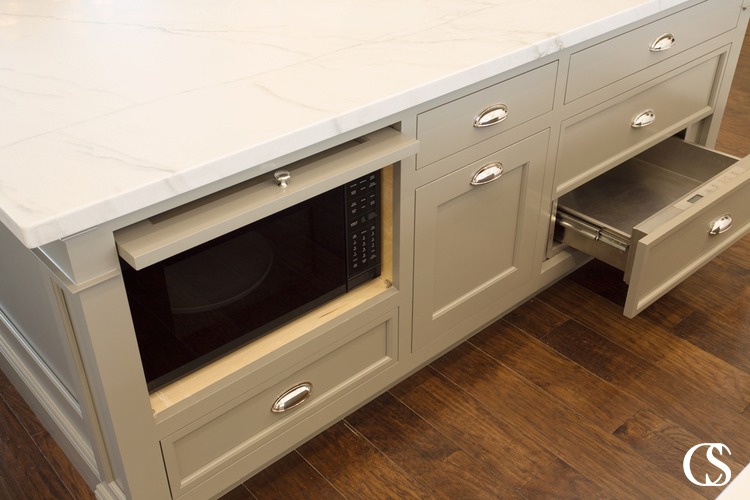
Typically, round cabinet knobs are installed by lining up the installation hole with the edge of the door rail. If you have an oval or T knob, place the installation hole so that the top of your knob aligns with the rail. A visual is always helpful, so when in doubt, use painters tape to map out hardware placement. Place the bottom of your pull for cabinet pulls so that it is in line with the rail. For paneled drawers, center the hardware within the panel.
DISCOVER: Our Favorite Cabinet Hardware
For Slab Doors And Drawers
Because slab doors are considered more modern, you’ll want to place your cabinet knob or handle to be equidistant from the bottom and side of the cabinet. A good rule of thumb is 2” from the bottom and side.
For slab drawers, centering the hardware is usually the best placement in terms of functionality and aesthetics. However, if it’s a more modern look you’re after, installing all of your knobs or pulls toward the top of the drawer will lend a sleek and contemporary look.
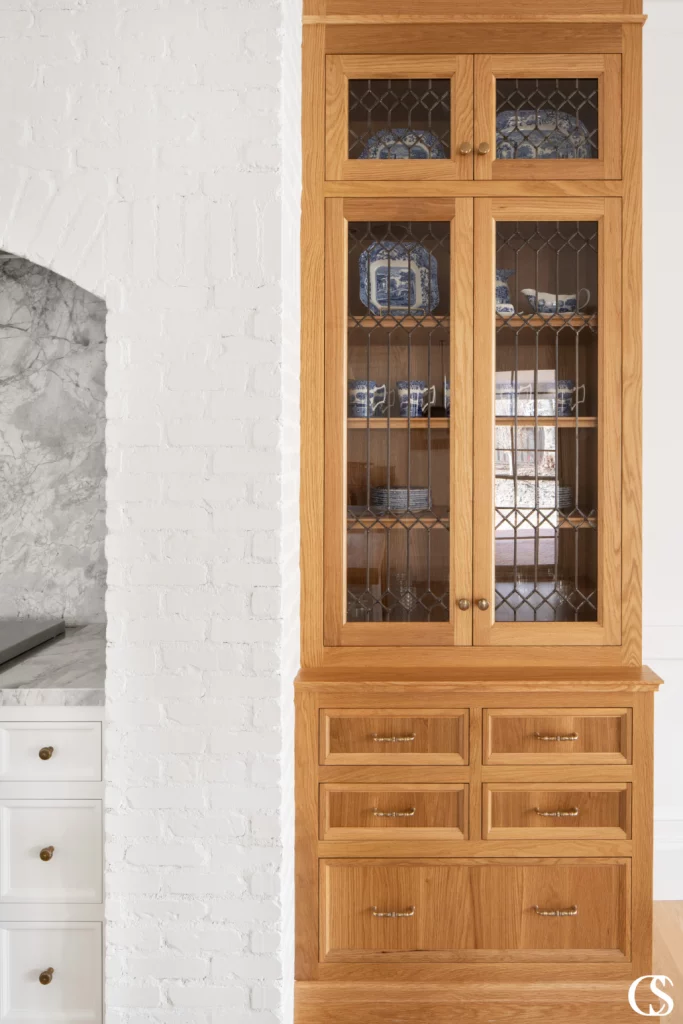
Tools And Materials Needed
The following tools and materials are required for a seamless cabinet hardware installation. You will need:
- Cordless drill with appropriate wood drill bit
- Small level
- Tape measure
- Pencil
- Awl
- Screwdriver
- New handles and associated screws
- Cabinet hardware jig or template
- Wood filler/putty
- Putty knife
Preparing For Installation
If you are attempting a DIY cabinet handle installation, it’s important to know that mounting cabinet knobs and pulls take precision and patience. Cabinet knobs are installed with a single screw, while pulls are installed with two screws.
TRENDING: Cabinet Hardware 101
Before you begin, you’ll want to understand how to measure your cabinet drawers and doors for the type of pull or knob you intend to install (see below for a step-by-step guide!). You’ll also want to think about what style of pull and knob would best compliment your overall cabinet design aesthetic. Consider the finish, style, and functionality of your cabinet pull or knob.
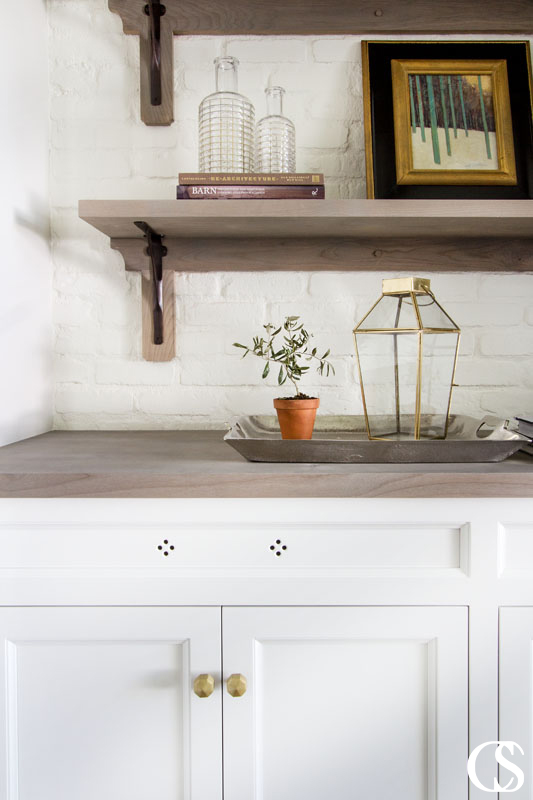
Installing Cabinet Handles
Installing cabinet handles with accuracy requires attention to detail and precise measurements. Follow these steps to install your cabinet hardware with precision:
Step 1: Gather all of your hardware installation tools
Step 2: Assemble your hardware jig
When installing cabinet handles, measuring them with accuracy and precision is essential. Failure to do so will result in work that must be redone. When you assemble your hardware jig, calibrate it to zero before measuring.
Step 3: Accurately measure for either a cabinet knob or pull
For cabinet knobs on paneled drawers, lightly draw a midline horizontally on the face of the draw. Use your small level to make sure your midline is level. Next, measure the midline and mark the midpoint with your pencil. Double-check your jig to make sure it is still calibrated to zero. For cabinet knobs on paneled doors, place the bottom of your pull to align with the rail.
READ MORE: What Paint Colors Go With Cabinet Hardware
For cabinet pulls on slab drawers, lay your jig on a flat surface, measure the length of your chosen cabinet handle, and divide it in two. This will be the center-to-center point. For example, if your chosen handle is 6 inches, your midpoint would be 3 inches from the center on either side. Mark each point. For cabinet pulls on slab doors, place your cabinet knob or handle so that it is equidistant from the bottom and side of the cabinet. A good rule of thumb is 2” from the bottom and side.
Step 4: Drill your holes
Remember to drill from the outside in. Drill your hole with your cordless drill with a 3/16th or slightly larger drill bit. Drill the hole size slightly larger than your screw; you’ll want a little wiggle room to adjust the handles once placed to be perfectly level.
Step 5: Check your placement
After you drill the two holes, put the handle on temporarily to ensure correct placement.
Step 6: Fill in any old holes with putty and sand smooth
Step 7: Install the knob or pull by inserting the screws and tightening.
Use your small level and adjust the hardware so the cabinet pull or knob is level.
Finishing Touches
Now that the hard part is done, it’s time to clean and maintain your new cabinet hardware. Follow these tips to keep your cabinet pulls and knobs looking as new as the day you installed them:
To clean cabinet handles, knobs, and pulls by spraying them with a mild, soapy solution. You can also use a drop or two of vinegar mixed with warm water and a soft bristle brush to scrub dirt, grime, or stains from the finish. Wipe clean with a soft cloth.
To maintain cabinet handles, knobs, and pulls, clean them every week. This allows your hardware to shine and retain that “brand-new” look for years.
FAQs About Installing Cabinet Handles, Knobs, And Pulls
Can I install cabinet handles on my own, or should I hire a professional?
While it’s possible to install cabinet handles on your own, hiring a professional can relieve the stress of making newbie mistakes.
Are there specific guidelines for installing cabinet handles in different rooms, such as the kitchen or bathroom?
No. There are basic hardware installation guidelines, but these apply throughout your home and are not room-specific.
What are the common mistakes to avoid when installing cabinet handles?
Not measuring correctly, forgetting to use a template, drilling from the inside rather than the outside, choosing hardware that is too small or large for the cabinet face, installed in the wrong position, or crooked.
How do I ensure that the cabinet handles are aligned properly?
Measure twice, drill once! Always measure before you drill and use a template or jig. This will ensure accurate placement every time.
Can I use different styles of handles for different cabinets in the same room?
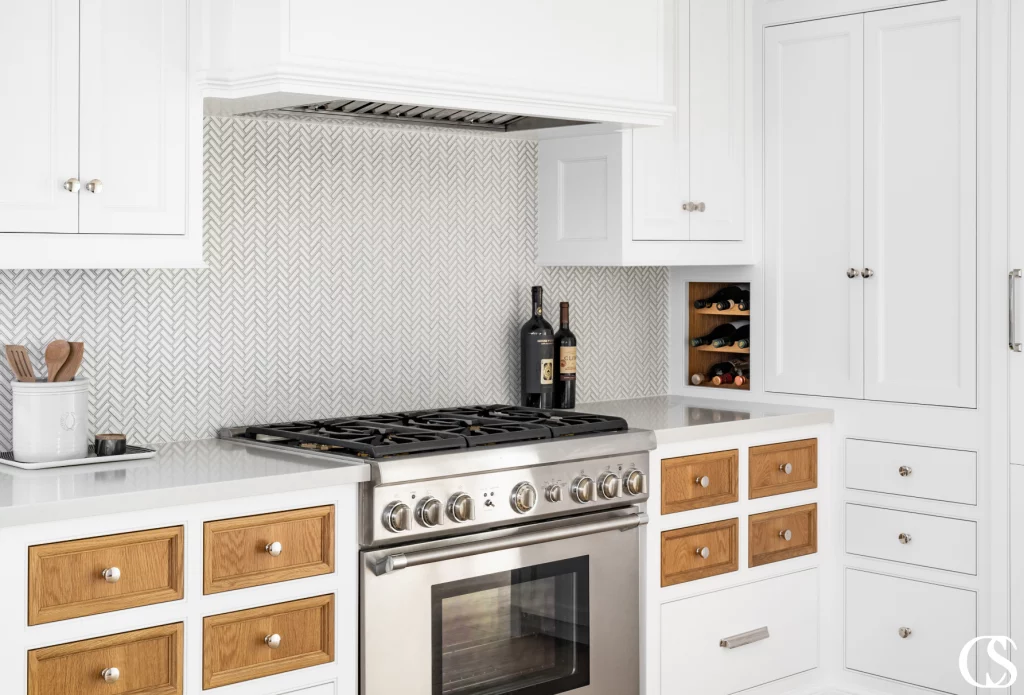
Yes. The general rule of thumb is to use up to three different colors or styles in one room.
Are there any safety precautions to consider during the installation process?
Yes. Always wear protective safety gear when installing hardware, such as goggles.
What are some tips for maintaining and cleaning cabinet handles?
Use mild soap or a few drops of vinegar in warm water to clean cabinet knobs or pulls. Scrub the hardware with a soft-bristled brush to remove any grime or stains before wiping clean with a soft cloth.
How do I know if I need to replace or upgrade my existing cabinet handles?
There is no hard and fast rule here. This one is due to personal preference. Update your existing hardware if you plan to remodel your space or your cabinets need a quick refresh.
Are there any alternative ways to update the look of my cabinets without replacing the handles?
Yes! You can always give your cabinets a fresh coat of paint or stain to update your look.
Can I reuse the existing holes for new cabinet handles, or do I need to drill new ones?
The answer to that is that it depends. You can use the existing holes if you purchase hardware with the same measurements as the ones you are replacing. Remove one of the handles to reuse the existing holes and measure the distance between the two holes. This will give you the center-to-center measurement needed to purchase hardware that will fit your existing holes.
Hardware Harmony: Choosing The Perfect Cabinet Handles for Aesthetic Bliss
Tradition Hardware is some of the most functional and beautiful hardware on the market. Designed with close attention to every detail and a portfolio of custom work that will astound even the most seasoned designer, Tradition Hardware can bring beauty and function to any space.
At Christopher Scott Cabinetry, we design every cabinet handle, knob, or pull with intent and attention to detail. We know that even though hardware is small, its impact is huge–it’s one of the most important things you can do to bring cohesion and personal style into any space. If you want to update your cabinet hardware and need well-designed hardware to make your space sing, visit our online shop, Tradition Hardware, to seal the deal or our online hardware portfolio for more cabinet hardware inspiration!

