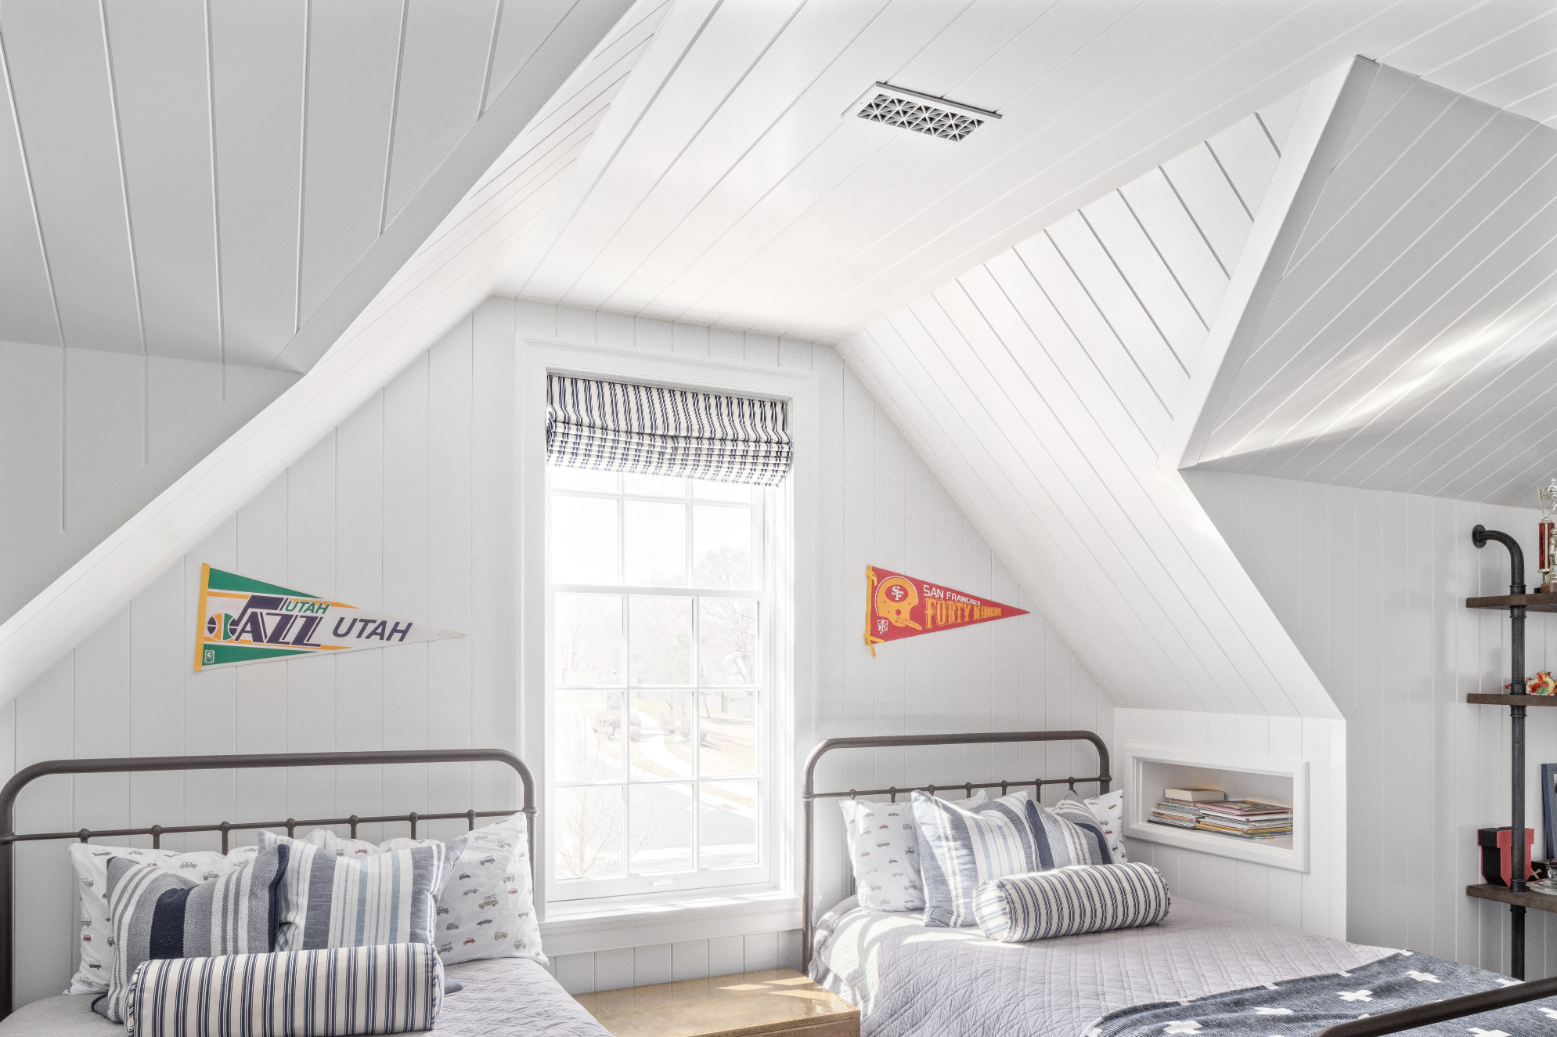
Let me guess—having purchased your beautiful new vent covers, you’re now sitting there wondering exactly how to paint custom vents…
Don’t worry! Equipped with the right information found right here and a few simple tools, you’ll be ready to customize your decorative vent covers so they perfectly complement your interiors in no time. Read on to find out how to choose the right colors for your vent covers, which is the best paint to buy for them, and how to paint those custom vents after all.
Choosing The Right Colors For Your Custom Vents
Choosing the right color for your custom vents is an important decision. Do you want them to blend in? Should they stand out? If they are going to be complementary rather than matching paint colors, which one do you choose? While the possibilities might seem overwhelming, you will probably get a decent sense of which general direction you want to choose based on a few simple observations:
- Where are the vent covers located?
- Do you have other elements in the room that are more important to have the eye drawn toward?
- Is your style more clean or eclectic?
- What made you choose the vent style you did?
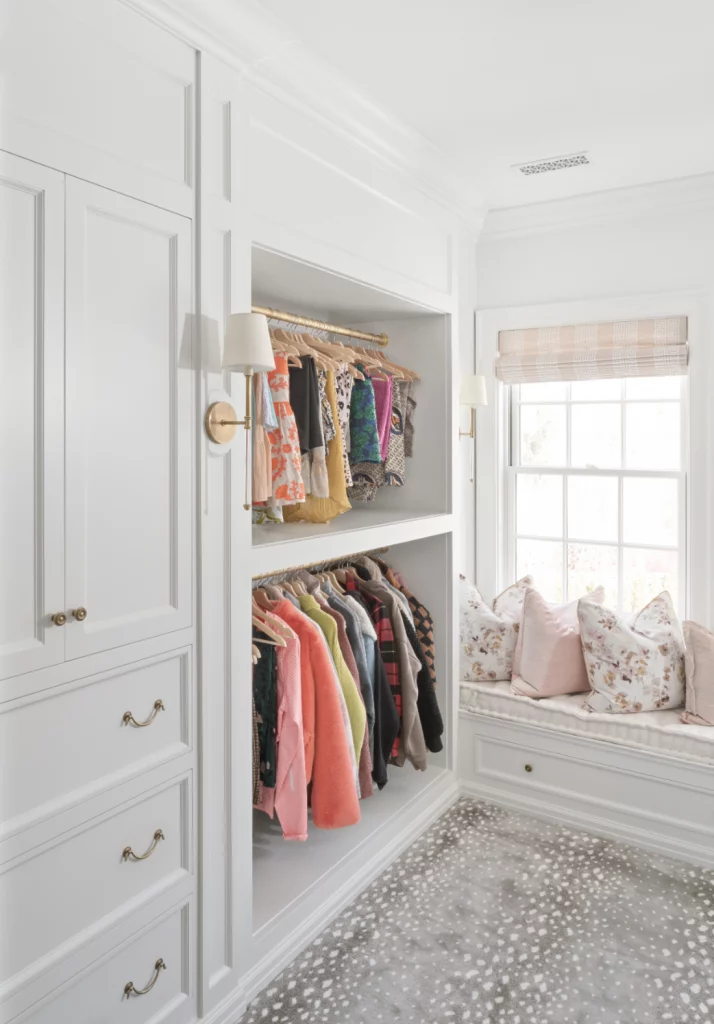
Just answering those few questions should get you started in making a decision about choosing paint for your custom vents. That said, here are a few of our favorite ideas as well as some common practices concerning which route to take when it comes to making your vent color decision.
First, you’ll notice as you scroll through several of our own custom vent photos that we are highly partial to our vents blending in. They are almost always shown painted the same color as the wall, ceiling, or toe kick area where they are found. Our reasoning is this: vent grills aren’t meant to be statement pieces. They’re meant to play a harmonious role with the rest of the interior architecture of your home. And because our custom vent covers feature intricate and unique designs—when you do notice them—it’s like having a piece of bonus eye candy in the room, without taking away from more prominent features in the space. This may be in part due to years of experiencing ugly metal grates that stuck out like a sore thumb in homes everywhere. We’re doing our best to turn the tables to a more luxurious look, without the cost or effort most other home upgrades would require.
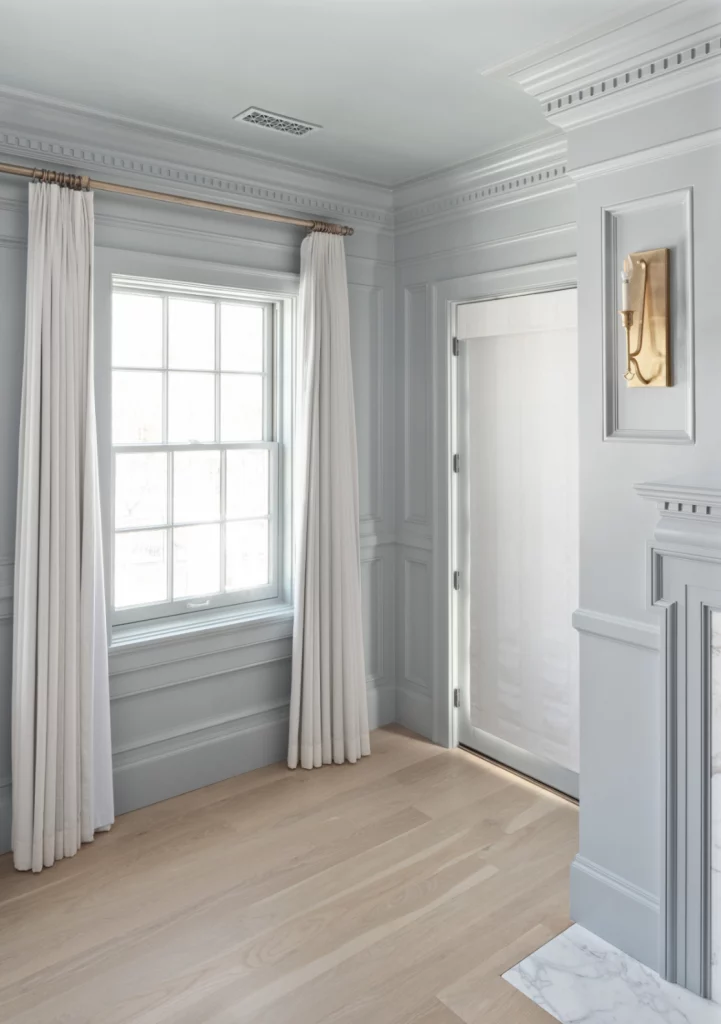
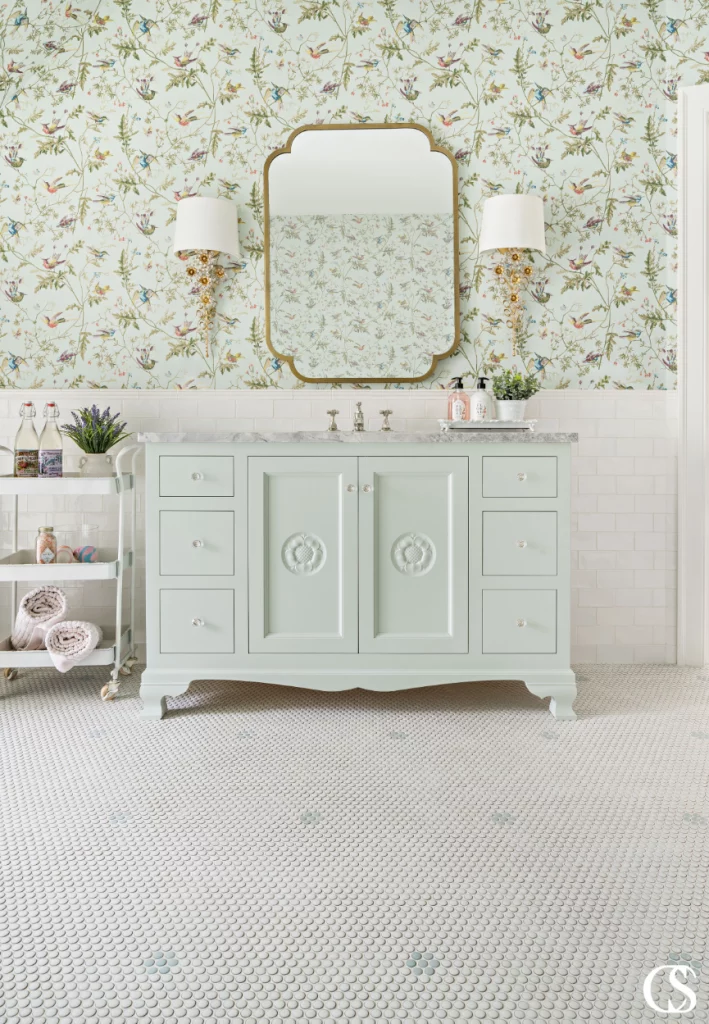
Next, we do think there is a place for painting your custom vent a complementary or maybe even contrasting color. We could see this working well in a black-and-white space, a more playfully eclectic room utilizing pops of color, especially if in a natural and modern way, or a room with decorative wallpaper offering a color palette from which to match a custom paint for your custom vents. For instance, in the bathroom pictured below, one could pull from a number of shades in the wallpaper in order to paint their custom vent and add one more bit of drama to the room.
Choosing The Best Paint For Your Custom Vents?
Choosing the best paint for your custom vent goes beyond just picking the perfect shade, however. Using decent quality primer and paint in beautiful shades to ensure your vent covers are durable, well cared for, and looking gorgeous is always a smart choice.
We, of course, have our own favorite paint colors that we come back to time and again. For example, the beautiful kitchen island pictured below (and its accompanying toe kick vent covers) are painted in one of our favorite paint colors—Down Pipe. We also rely on our favorite Benjamin Moore paints quite often.
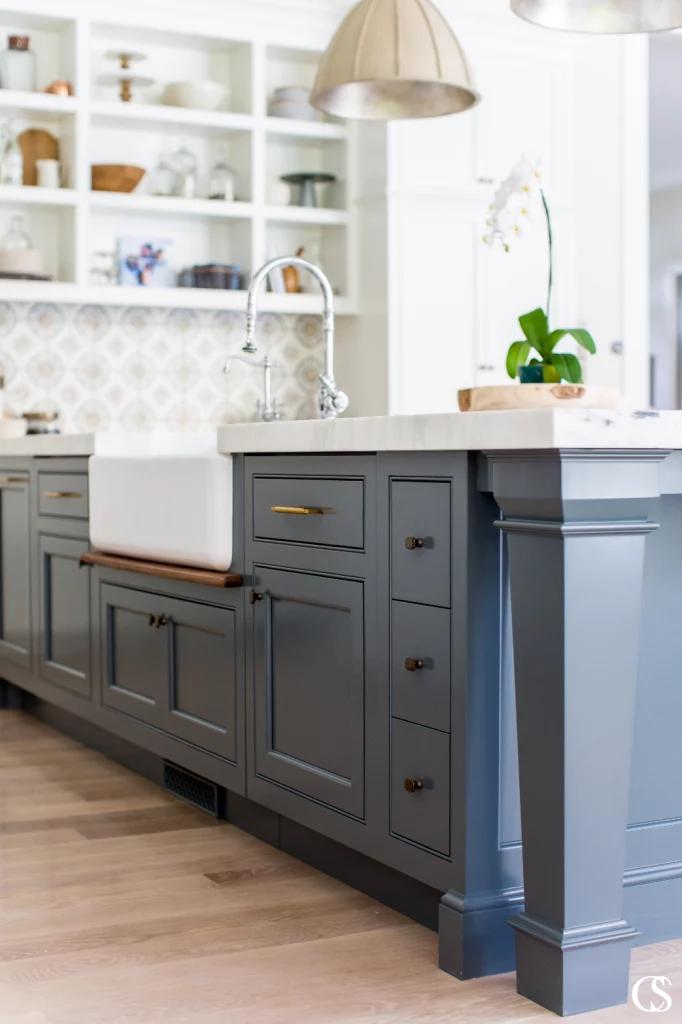
If you’re still searching for the perfect paint for your room and custom vent covers, here are some key things to keep in mind when looking for a quality paint brand:
- Does their paint have a high percentage of solids? Meaning, are there good binders and pigments in each of their paints that increase adhesion and resist wear? That paint thickness also often means more coverage with less work. Win-win.
- Do they offer the shades of paint you are actually looking for? One top-tier paint brand may have the quality of paint you’re needing, but if they don’t have that just-right color, you may want to seek out another brand.
- Does that brand you’re researching also sell its own primer? Using the same brand of primer and paint can lead to excellent aesthetic results as the products are formulated to work together. The best primer for vent covers will have good coverage and provide proper adhesion for your paint.
One common question is whether or not you can or should use a primer + paint combo when figuring out how to paint your custom vents. Our answer isn’t a hard no, but we definitely lean that way, and here’s why—paint and primer have two distinct jobs to perform. A primer is meant to seal and secure the surface while providing a proper foundation for the paint to glide on smoothly. Paint is there to add color, sheen, and a proper, cleanable surface for daily wear and tear. Combining the two products can reduce the effectiveness of each and so we prefer the use of two distinct products, preferably from the same manufacturer. And honestly, if you want to grab a can of spray primer for your custom vents’ paint job, we think you’ll be just fine.
Oh, and if you’re just trying to match an existing paint job on walls or ceilings, we recommend grabbing a sample pint of the color in an eggshell finish to paint your vents. It really doesn’t take much.
Painting Prep For Vent Covers
Now that you’ve picked the paint color for your custom vent, it’s time to start the prepping process.
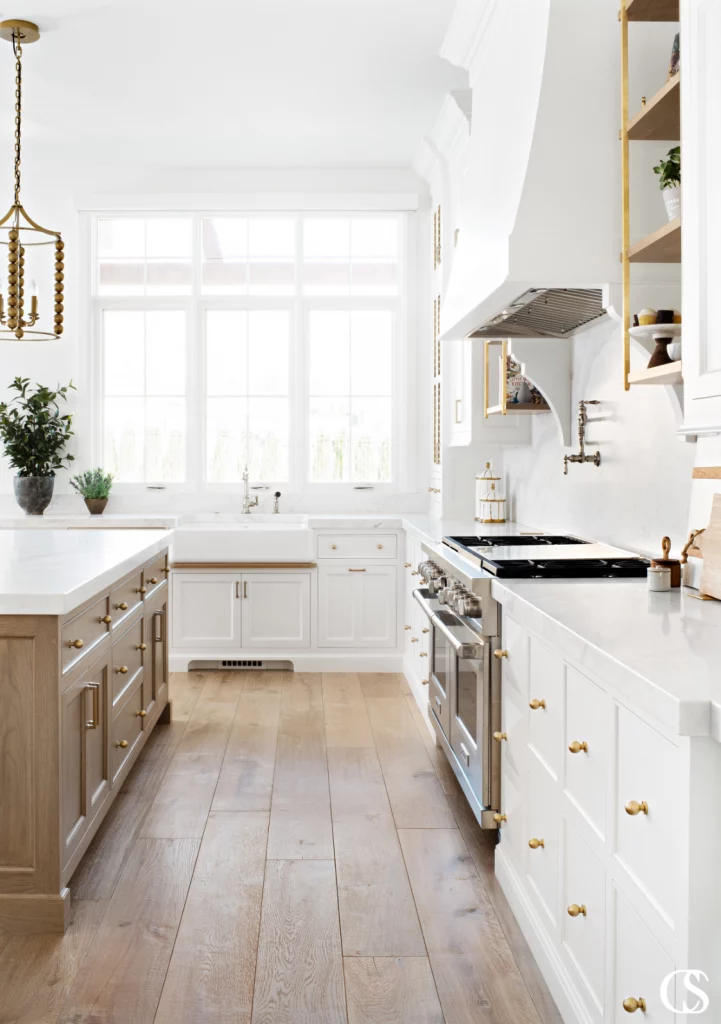
Here is what you’ll need to have ready before you dip your brush or roller into the paint.
- A quality paint brush or foam roller for a smooth finished look.
- A paint-mixing stick.
- A drop cloth. Most anything will do—a sheet, plenty of newspaper, etc.
- Painter’s pyramids. These come in really handy when you need to paint both sides of your project. The smaller the touchpoints, the better. If you don’t have pyramids, some people use push pins pressed into the work surface (cardboard, work table, etc.) at each corner of the project in order to keep your vent elevated.
- Custom vent covers, of course!
The last things you’ll need are an open space free of wind, dust, debris, and foot traffic—think open garage or workshop so no fluttering leaves can stick in fresh paint or playful children accidentally disrupt the workspace—and a little bit of patience. Remember, waiting the proper amount of time between paint coats is critical for a smooth, professional finish.
Alright, with all these items in hand and mind, you’re ready to start painting your custom vent covers!
How To Paint Your Custom Vent Covers
The question of how to paint your vent covers is answered here! It’s honestly a very simple step-by-step process that anyone can follow and achieve great results.
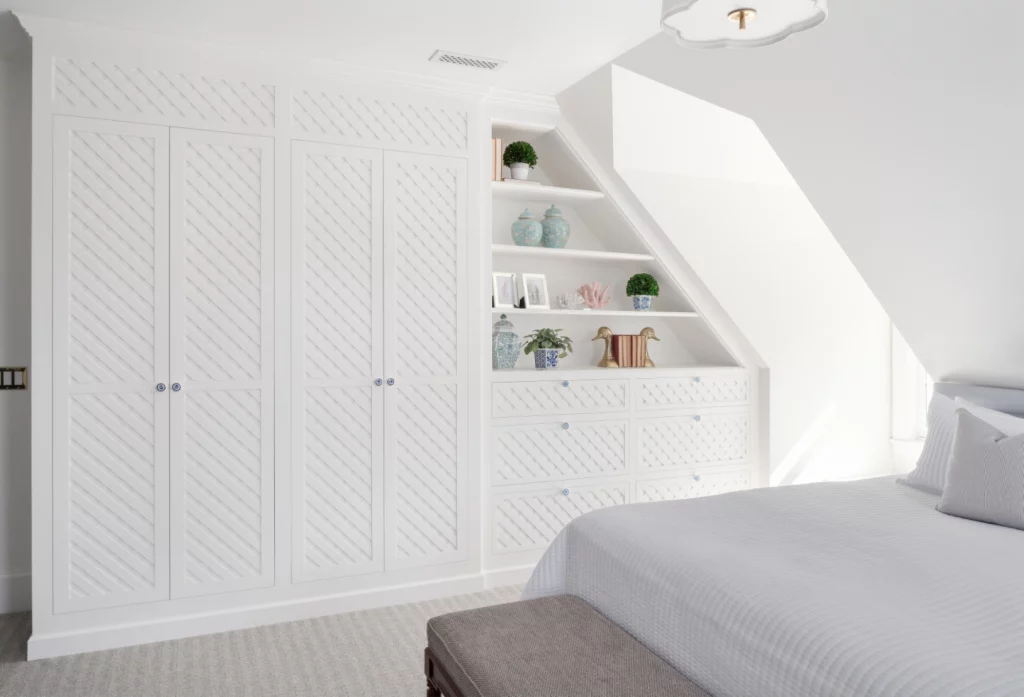
Step 1: Lay down your drop cloth completely flat so it doesn’t interfere with your ability to easily paint edges or require you to touch wet paint. Lay out your painter’s pyramids (or substitute) and place your clean and dry decorative vent covers on them, face down.
Step 2: Mix your primer well with a paint stick and begin priming the backs of the vents. Make sure to brush from one end to the other in long, slow brush or roller strokes to avoid lines or drips.
Step 3: According to the instructions on your primer, let the vents dry and apply any additional coats recommended. Once dry, flip the vents and paint the face and sides according to the primer instructions.
Step 4: After drying the primer completely, stir your chosen paint color well and follow the same instructions for the painting process as for the primer (Steps 2 & 3), making sure to lightly sand between coats.
If you see any thick areas, you’ll want to sand down and touch up, then let the vents dry for 24 hours before installing them in your home!
It really is as simple as that—painting your custom vents is nothing to be intimidated by. Attention to detail when painting the design will be key, but anyone is capable of successfully accomplishing this “how to paint your custom vents” tutorial! Part of why we created these custom vent covers is to ensure exactly that—we want you to achieve that premium home design look without having to pay the pros a premium price.
Shopping For Custom Vent Covers
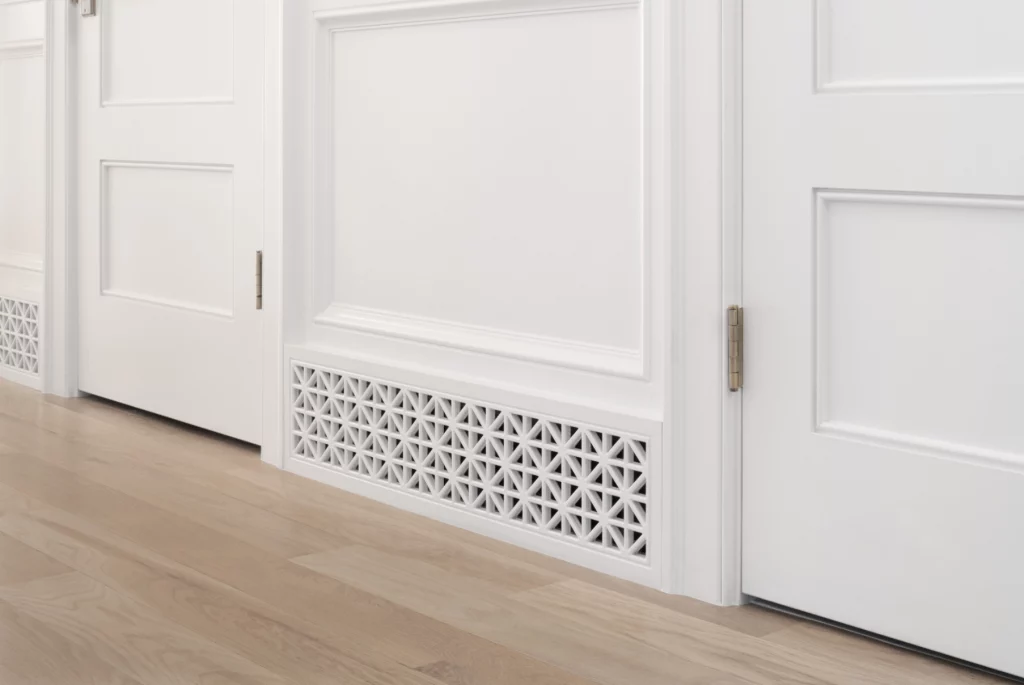
If you haven’t purchased your own custom vent covers yet, now is the time to embrace an elevated style and find the right decorative vents for your home. We have created a variety of modern-yet-timeless designs in customizable, top-quality high-density machine board (HDM), effectively allowing you to update your home with minimal effort and cost while delivering the greatest visual impact. They are simply installed and cared for, making the nominal investment even more cost-effective over time.
But most importantly? We’re committed to offering you products that make your house feel like home, with the custom built-in charm and character you really want in your space. You deserve a premium home upgrade that comes without a premium price tag, and we’ve worked to make that possible for you.
Ready to shop for beautiful custom vent covers? Check out the Christopher Scott vent shop now!

