Not knowing how to install custom vents is the last thing that should stop you from investing in such a simple yet impactful home upgrade. With our custom vent covers, you can always expect top quality materials, beautiful design, and easy vent installation at home with just a few simple supplies and our top vent installation tips. Read on to learn exactly how to install custom vents so you can feel totally confident in bringing your gorgeous new decorative vent covers home.
Prep Work To Install Your Custom Vents
Prep work for this premium home upgrade is quick and easy.
First, you’ll need to make sure you’ve measured properly and therefore ordered the correct custom vent covers for your space. You should always remove the old vent to measure the hole it came from, never the face of the old vent. Many common vents come in 4”x10” or 4”x12” sizes so if they’re far off from this, make sure you double check your measuring method.
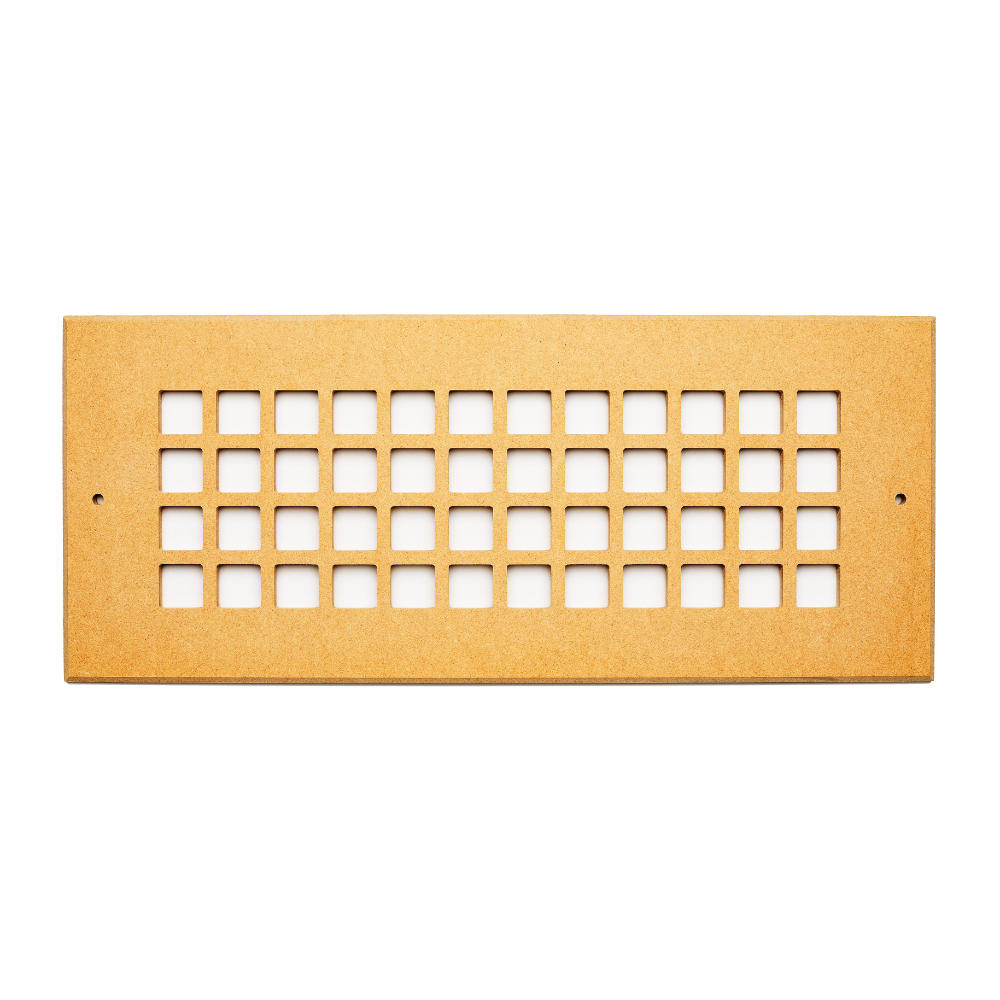
Next up is the fun part—you get to do a little customization of your new decorative vent cover. Make sure to prime the entire piece and then paint it with high quality paint to match or complement your own interiors. We’ve found that even in a matching color, our custom vent covers make a big visual impact—and always for the better.
When your vent covers are perfectly dry and ready to install, gather the tools necessary: two screws and a screwdriver. Yep, that’s how easy this vent installation is. Just make sure your screws are long enough and of the right diameter to securely fasten the decorative vent cover to the vent opening.
The last step before installing your new vent is to remove the old cover permanently, feeling free to breathe a big sigh of relief that you’ll never have to see it again.
How Do You Install Custom Vents?
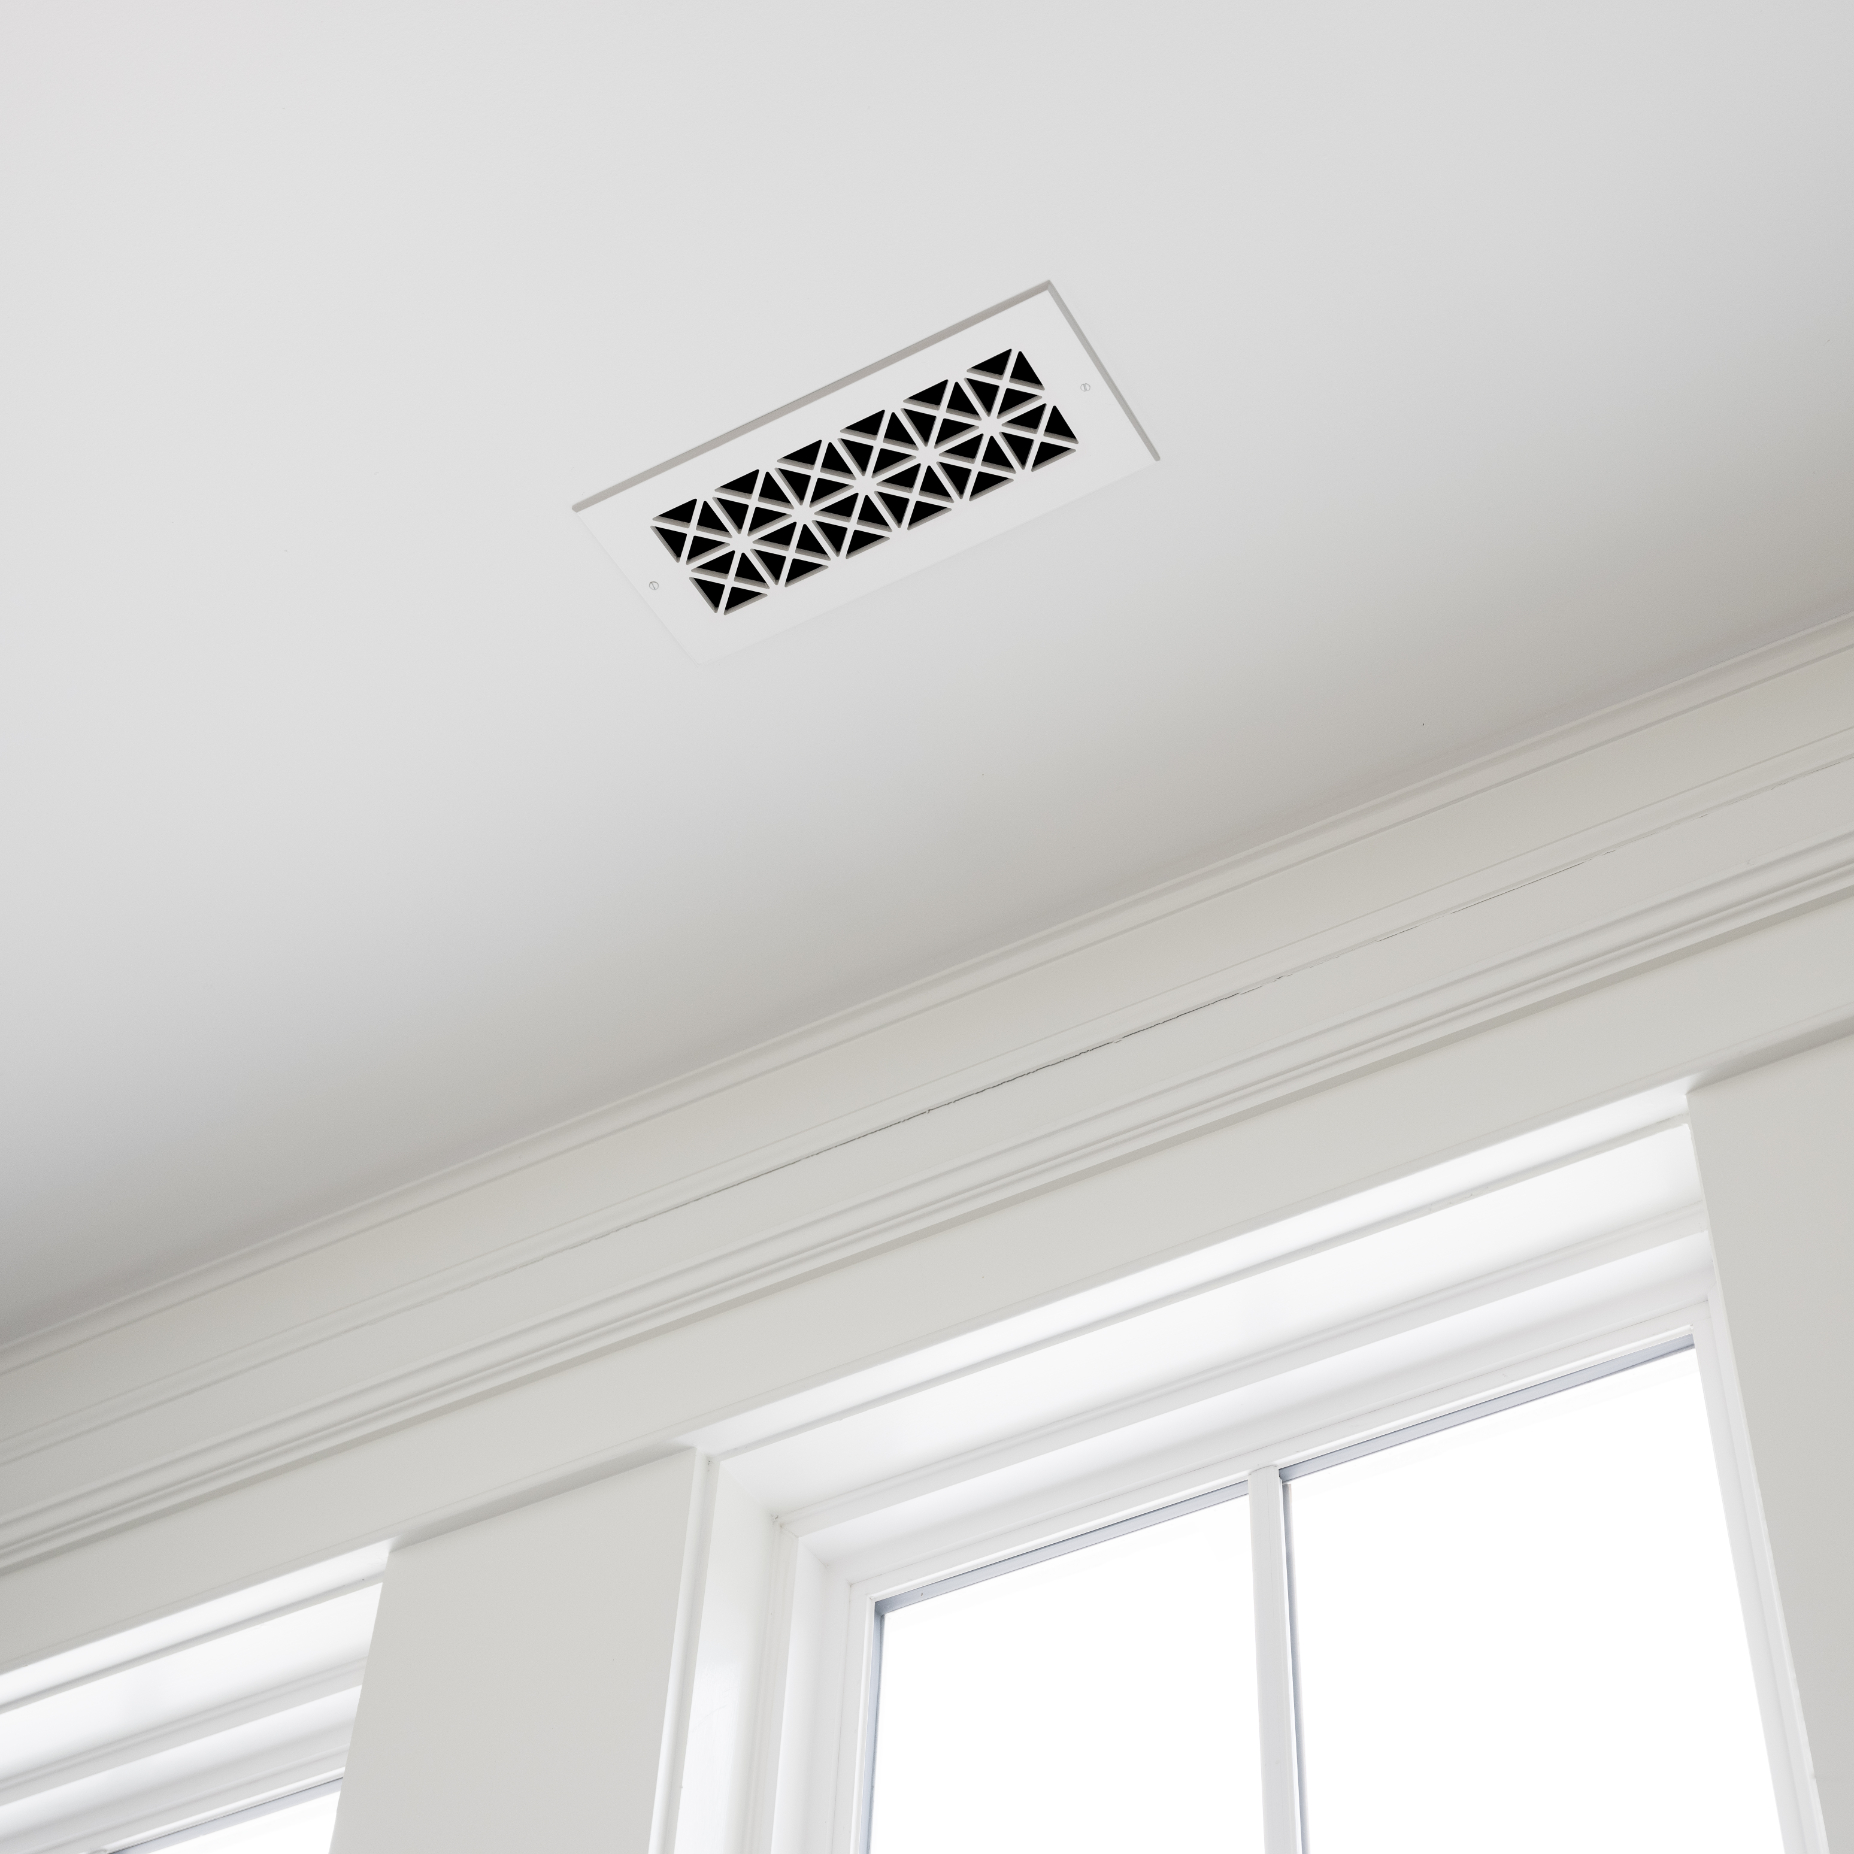
Christopher Scott Cabinetry and Design’s custom vent covers are designed not only to be a gorgeously high-end finishing touch in any home, but manufactured to allow for that upgrade with minimal cost and effort. So when we talk about how to install our custom vents, we really are just talking about one simple step: screw them into the wall, and you’re done.
Granted, you’ll need to have done a little prep work in advance (see above section) and make sure you feel comfortable removing the old and installing the new vent covers, but there is little reason anyone shouldn’t feel perfectly confident doing so.
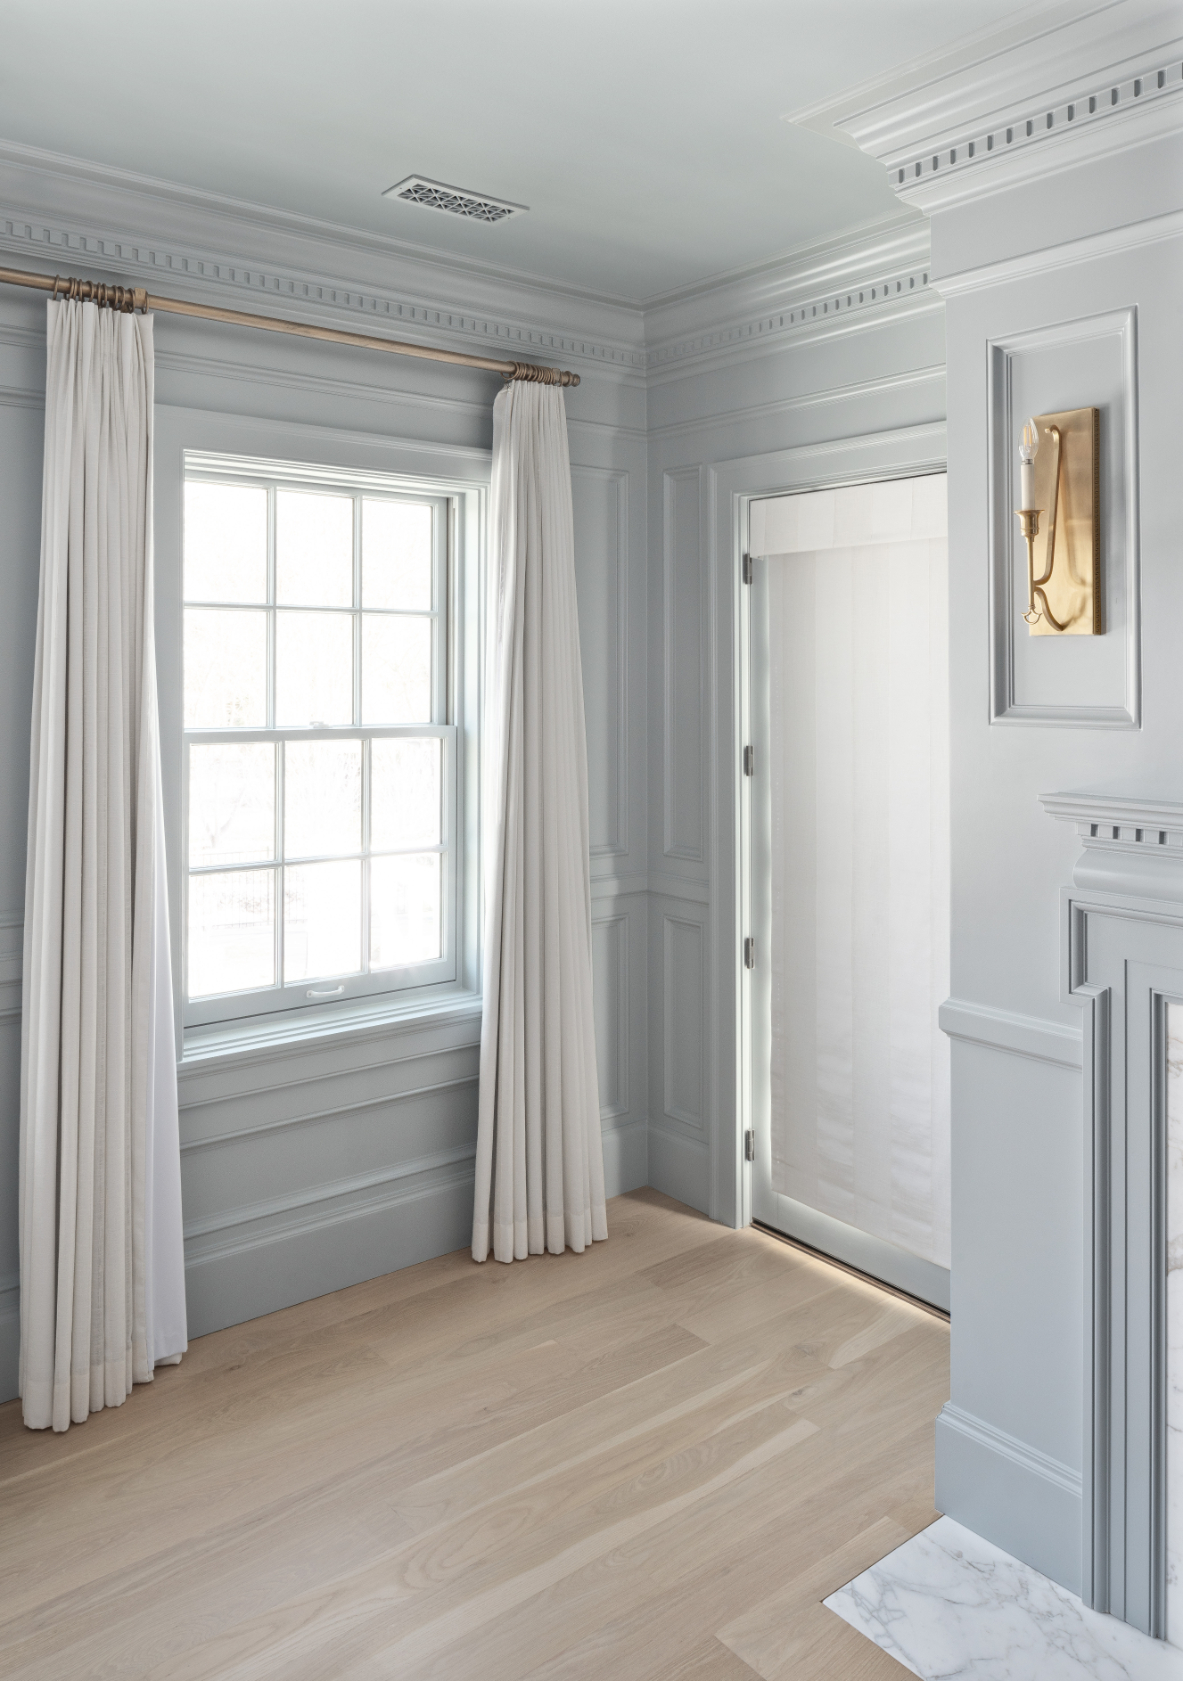
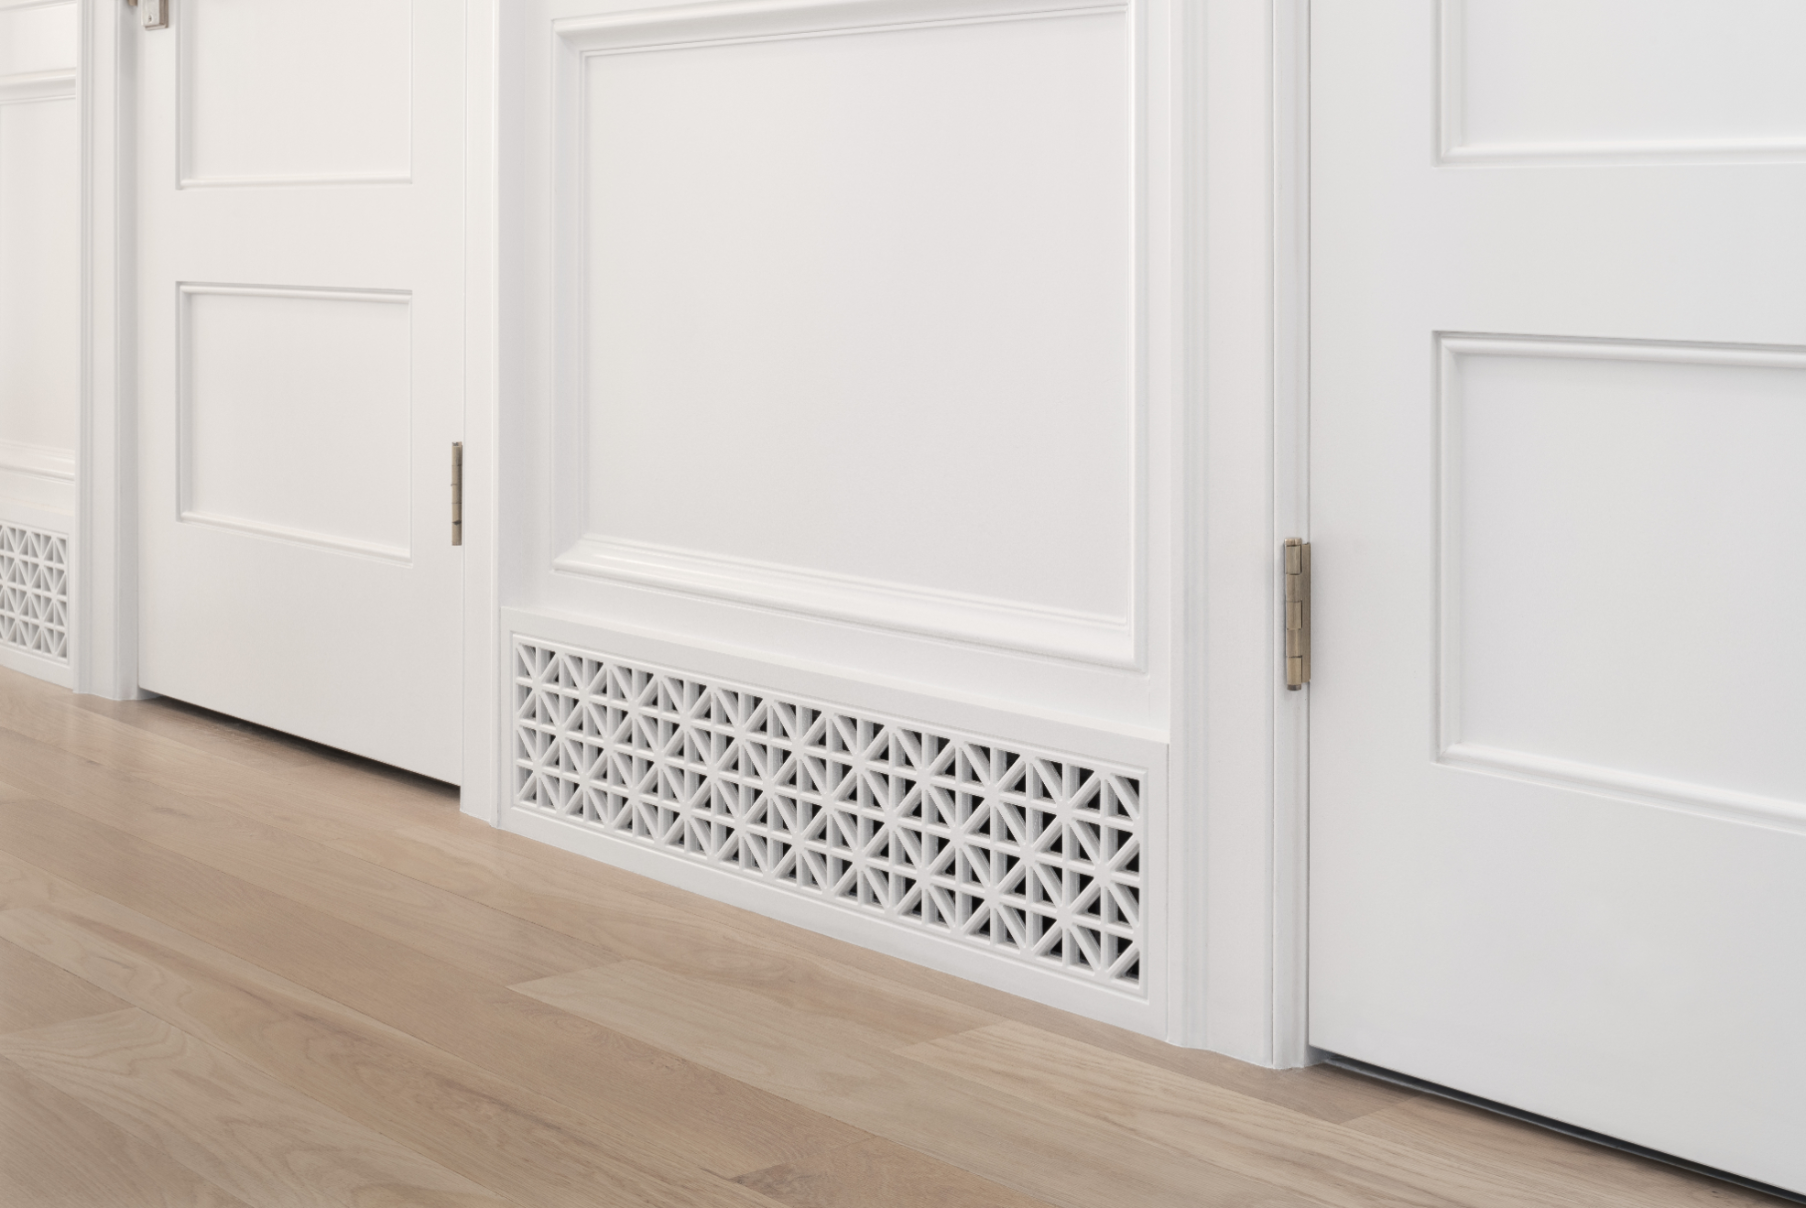
We do want you to remember one important thing when it comes to our decorative vent covers—they’re made of top quality high-density machine board (HDM) and are meant to endure the wear and tear of regular life in any room of the house. That said, this material is to be used on toe kicks, walls, and ceilings. Floor vent openings require a different material as they take larger amounts of abuse in daily living.
How Do You Care For Your Custom Vents?
After learning the ease of how to install our custom vent covers, you can rest assured that caring for them after installation follows suit.
As with other painted decor or furniture in your home, you’ll want to keep your decorative vent covers generally free of oils, dirt, and debris. This is simply done by regularly wiping them down with a damp cloth. A gentle cleaning solution to remove tougher messes (kitchen spills, toddler artwork, etc.) is perfectly fine as long as the paint you’ve chosen to customize your vent cover with is of good quality. If you choose to vacuum the face of your vent cover, use a softer bristle attachment rather than the hard plastic that could cause scratches or chipping.
If minor scratches or chips do appear in your custom vent cover, we recommend gently sanding down the area and simply repainting it to match.
Installing custom vent covers should not only add seamless character to your home, but seamlessly fit into your regular home-care routine. Ours help ensure you can stick to the basics while making sure your interiors are anything but.
Shopping For Custom Vent Covers (H2)
Shopping for the right custom vent covers can be as easy as learning how to install custom vent covers. You want to find something, first and foremost, that’s of high quality—made to last and of solid materials. We also recommend choosing custom vent covers that match your aesthetic. The reason you’re likely wanting to install custom vent covers is because you’re tired of compromising your interior design. So find a maker that creates designs that match your personal taste. And we’re always going to vote for something that’s highly customizable and can therefore make your home feel purposefully and thoughtfully designed from top to bottom, because it was.
Christopher Scott Cabinetry and Design custom vent covers fit all three requirements. Made of quality HDM here in the U.S., our vent covers are built to last. They’re also an incredibly inexpensive way to get the most custom look available in modern vent covers. And bonus, they’re so easy to install, it almost doesn’t require instructions at all.
Ready to shop for your new custom vent covers? Check out the Christopher Scott Amazon store today!